The synopsis for Medieval Mystery put you in a role of a theif that have just arrived to a riverside town. But in the middle of the night a pack of bandits have infiltrated the town and are looting all they can get. Can you get up to the mansion on the hill before them and get the treasures?
- Perspective: First Person
- Development time: 6 weeks (4h / day)
- Focus: Level design, worldbuilding and environmental design
- Tools: Unreal Engine 4.26, Maya and Photoshop
Planning and Game Design
Medieval Mystery was a piece where I wanted to show my strengths in both level design and environment design. Due to the large scale of the level, I had to find a way to fast and easy structure out the architecture and city planning of the entire town.
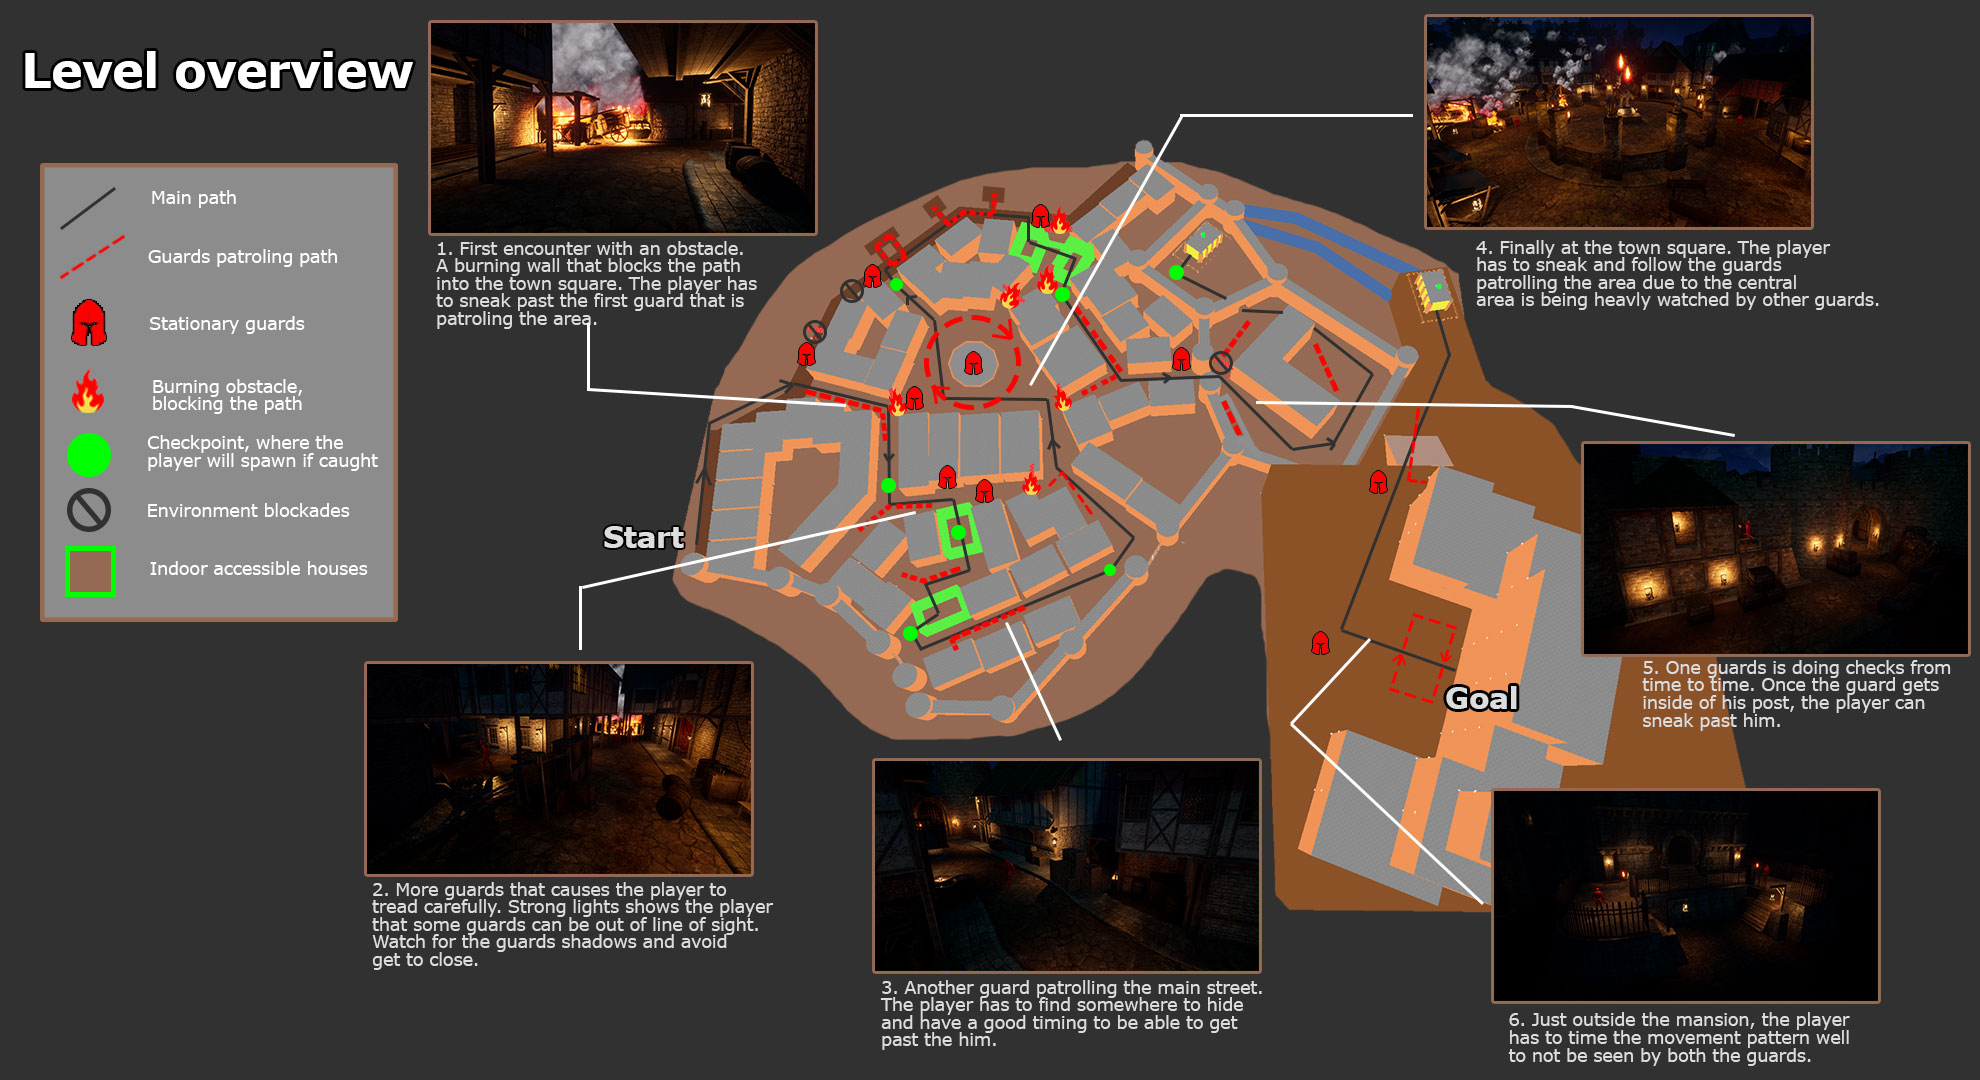
In preprod I started to sketch the layout of my level and the pathing from start to goal. What kind of environment areas I wanted to have in my level. What kind of scripting I wanted to have to enhance the experience and the story of the scene.
When I did the pathing I tried to keep to the “ten second rule”; to make sure there was always something new or eye catching when progressing through the level. Narrow streetways and a lot of corners made it possible to give the player a sense of progression.
Gameplay mechanics that needed a setup:
- Crouching – With reduce the chance of getting detected
- Patrol paths for the AI
- Behavior and perseption for the AI
- Respawn points


When I had my rough sketch done over my scene, I started to do a quick blockout which allowed me to confirm my landmark would be seen in the distance while walking down the streets of the village.
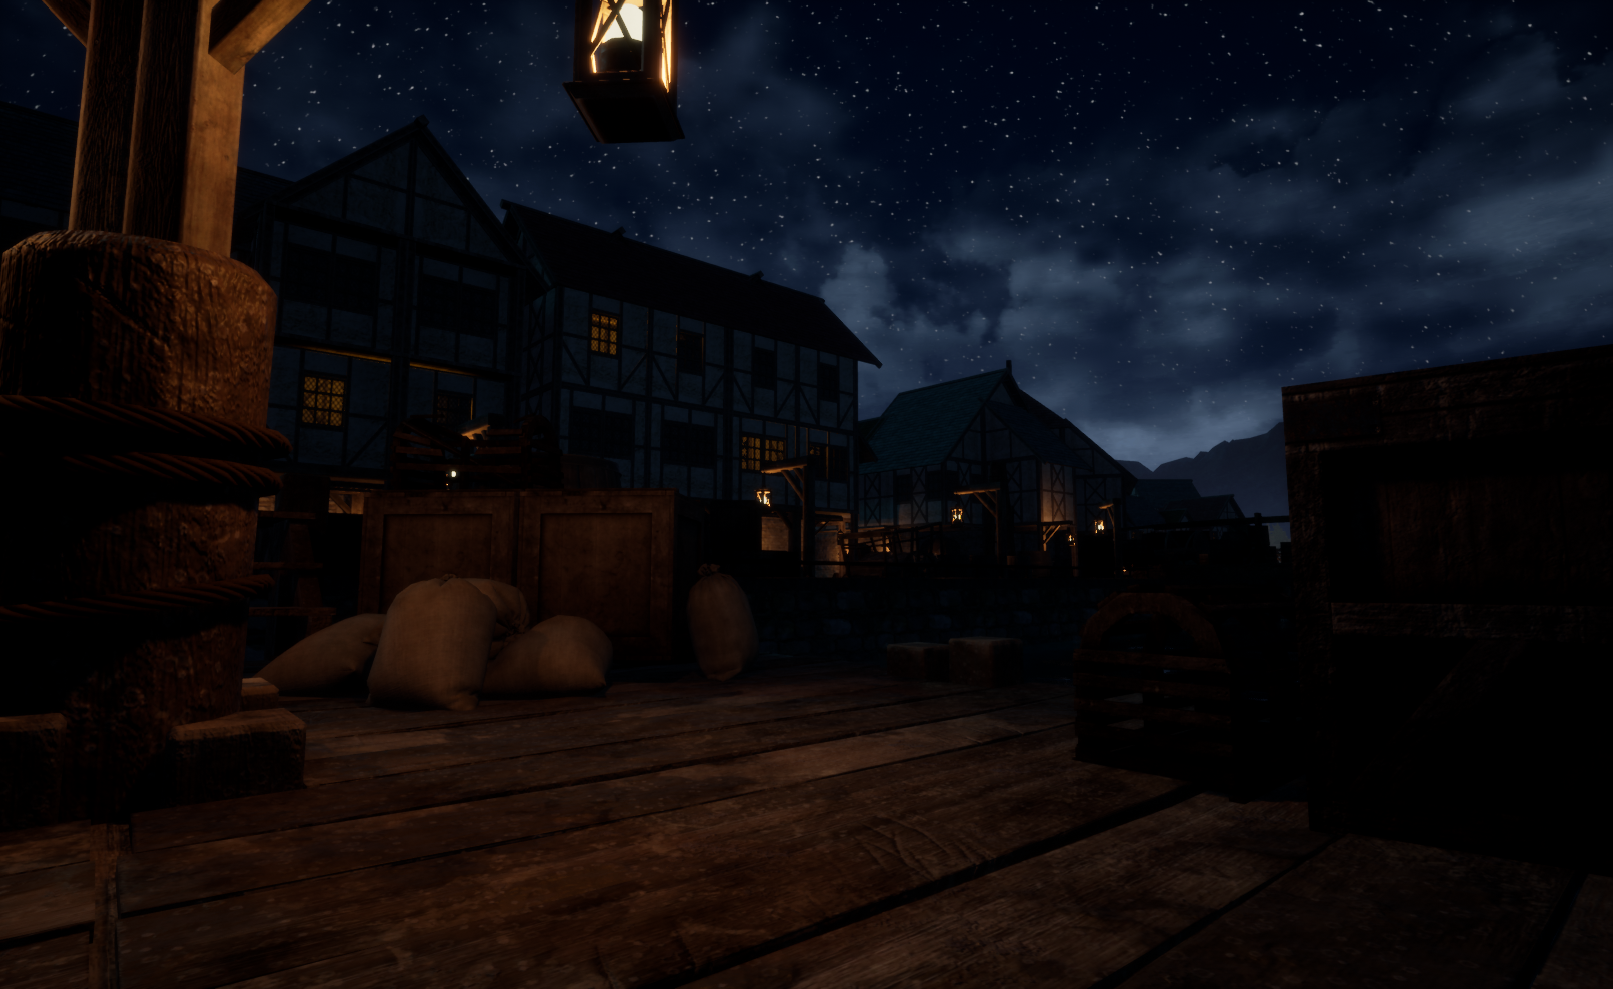
Level designing the village
After I finished my planning, I started to work out a way to make interactable modules to help me build up the village as a whole. I scripted a blueprint system that made it possible to build a house in less than two minutes with modular blocks of walls and roofs. It was important that the modules had correct snapping to each other, and allowed variation with the walls, windows, and doors. I also added a light source inside to make lighting easier later in the project. Due to this system, I managed to construct my village in a short period of time and made it possible to variate the architecture of every house to make them unique.
As the path I had set required the player to move through some of the houses in the village, I started to model the unique houses that would require the player to progress into them and through, to reach the set path. To enhance the feeling while entering and exiting a house, I knew I wanted an interactable door that was not toggled to be open by a button press.
So I took inspiration from the door system they have in the “Amnesia” games where you interact with the door with the mouse and can decide yourself how much you want to open it. But also to make the player feel like he/she has to proceed with caution, not knowing what might be behind the door.
Setting up the patrolling guards
For the guard who are patrolling the areas of the town, I wanted to create a simple AI behaviour with sight perseption. The two behaviour rules for the AI had to follow was always to check if it could see or not see the player character.
- If the guards can see the player: Cancel your patrol route. Disable the players controller. Run near the players position and play an fail-sequence animation. At this point when the player is detected by a guard, he will get respawned at the previous passed checkpoint in the level.
- If the guards cant see the player: The guard will follow a patrol path that is set with points in the level. The patrol path can be set to either follow a linear path then back track to the start, or do a loop and return to the first position when reaching its last. The guards can also be set to have different wait times when reaching their patrol points.
Constructing and level designing the mansion
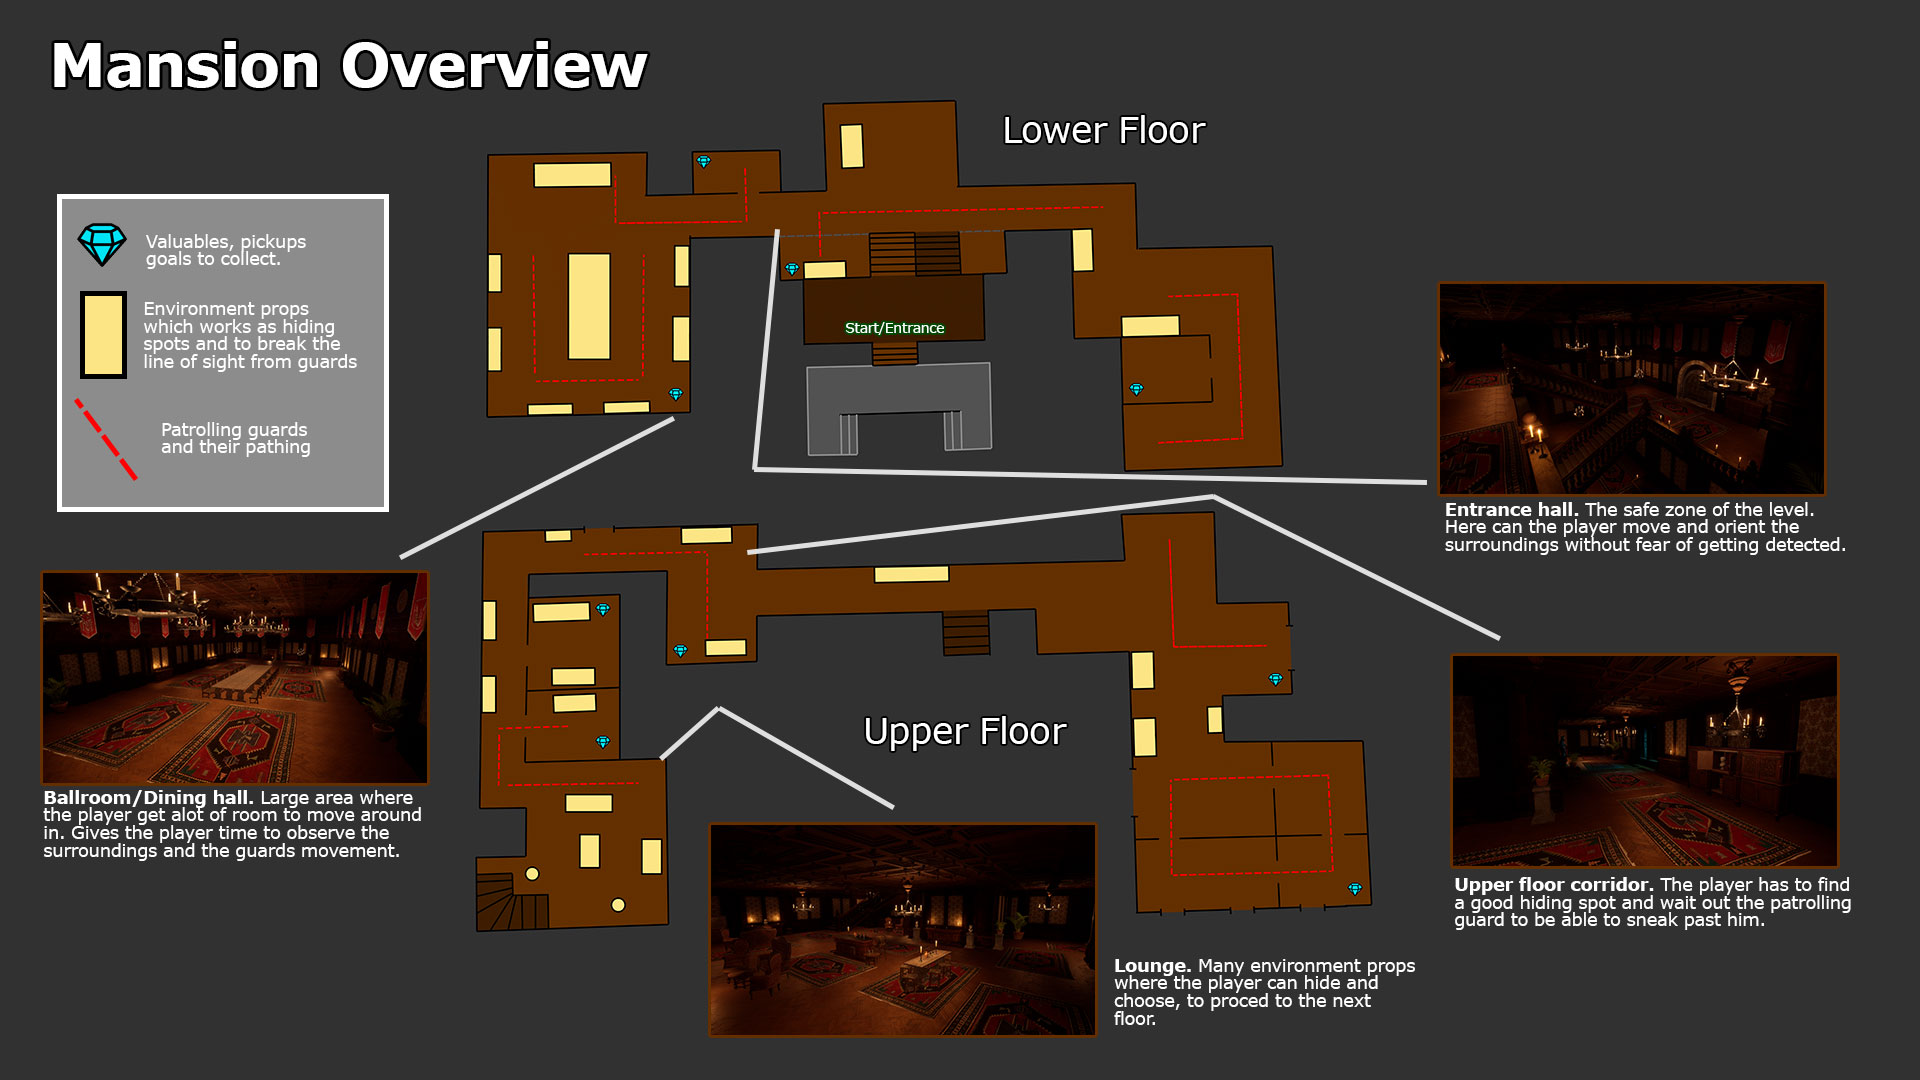
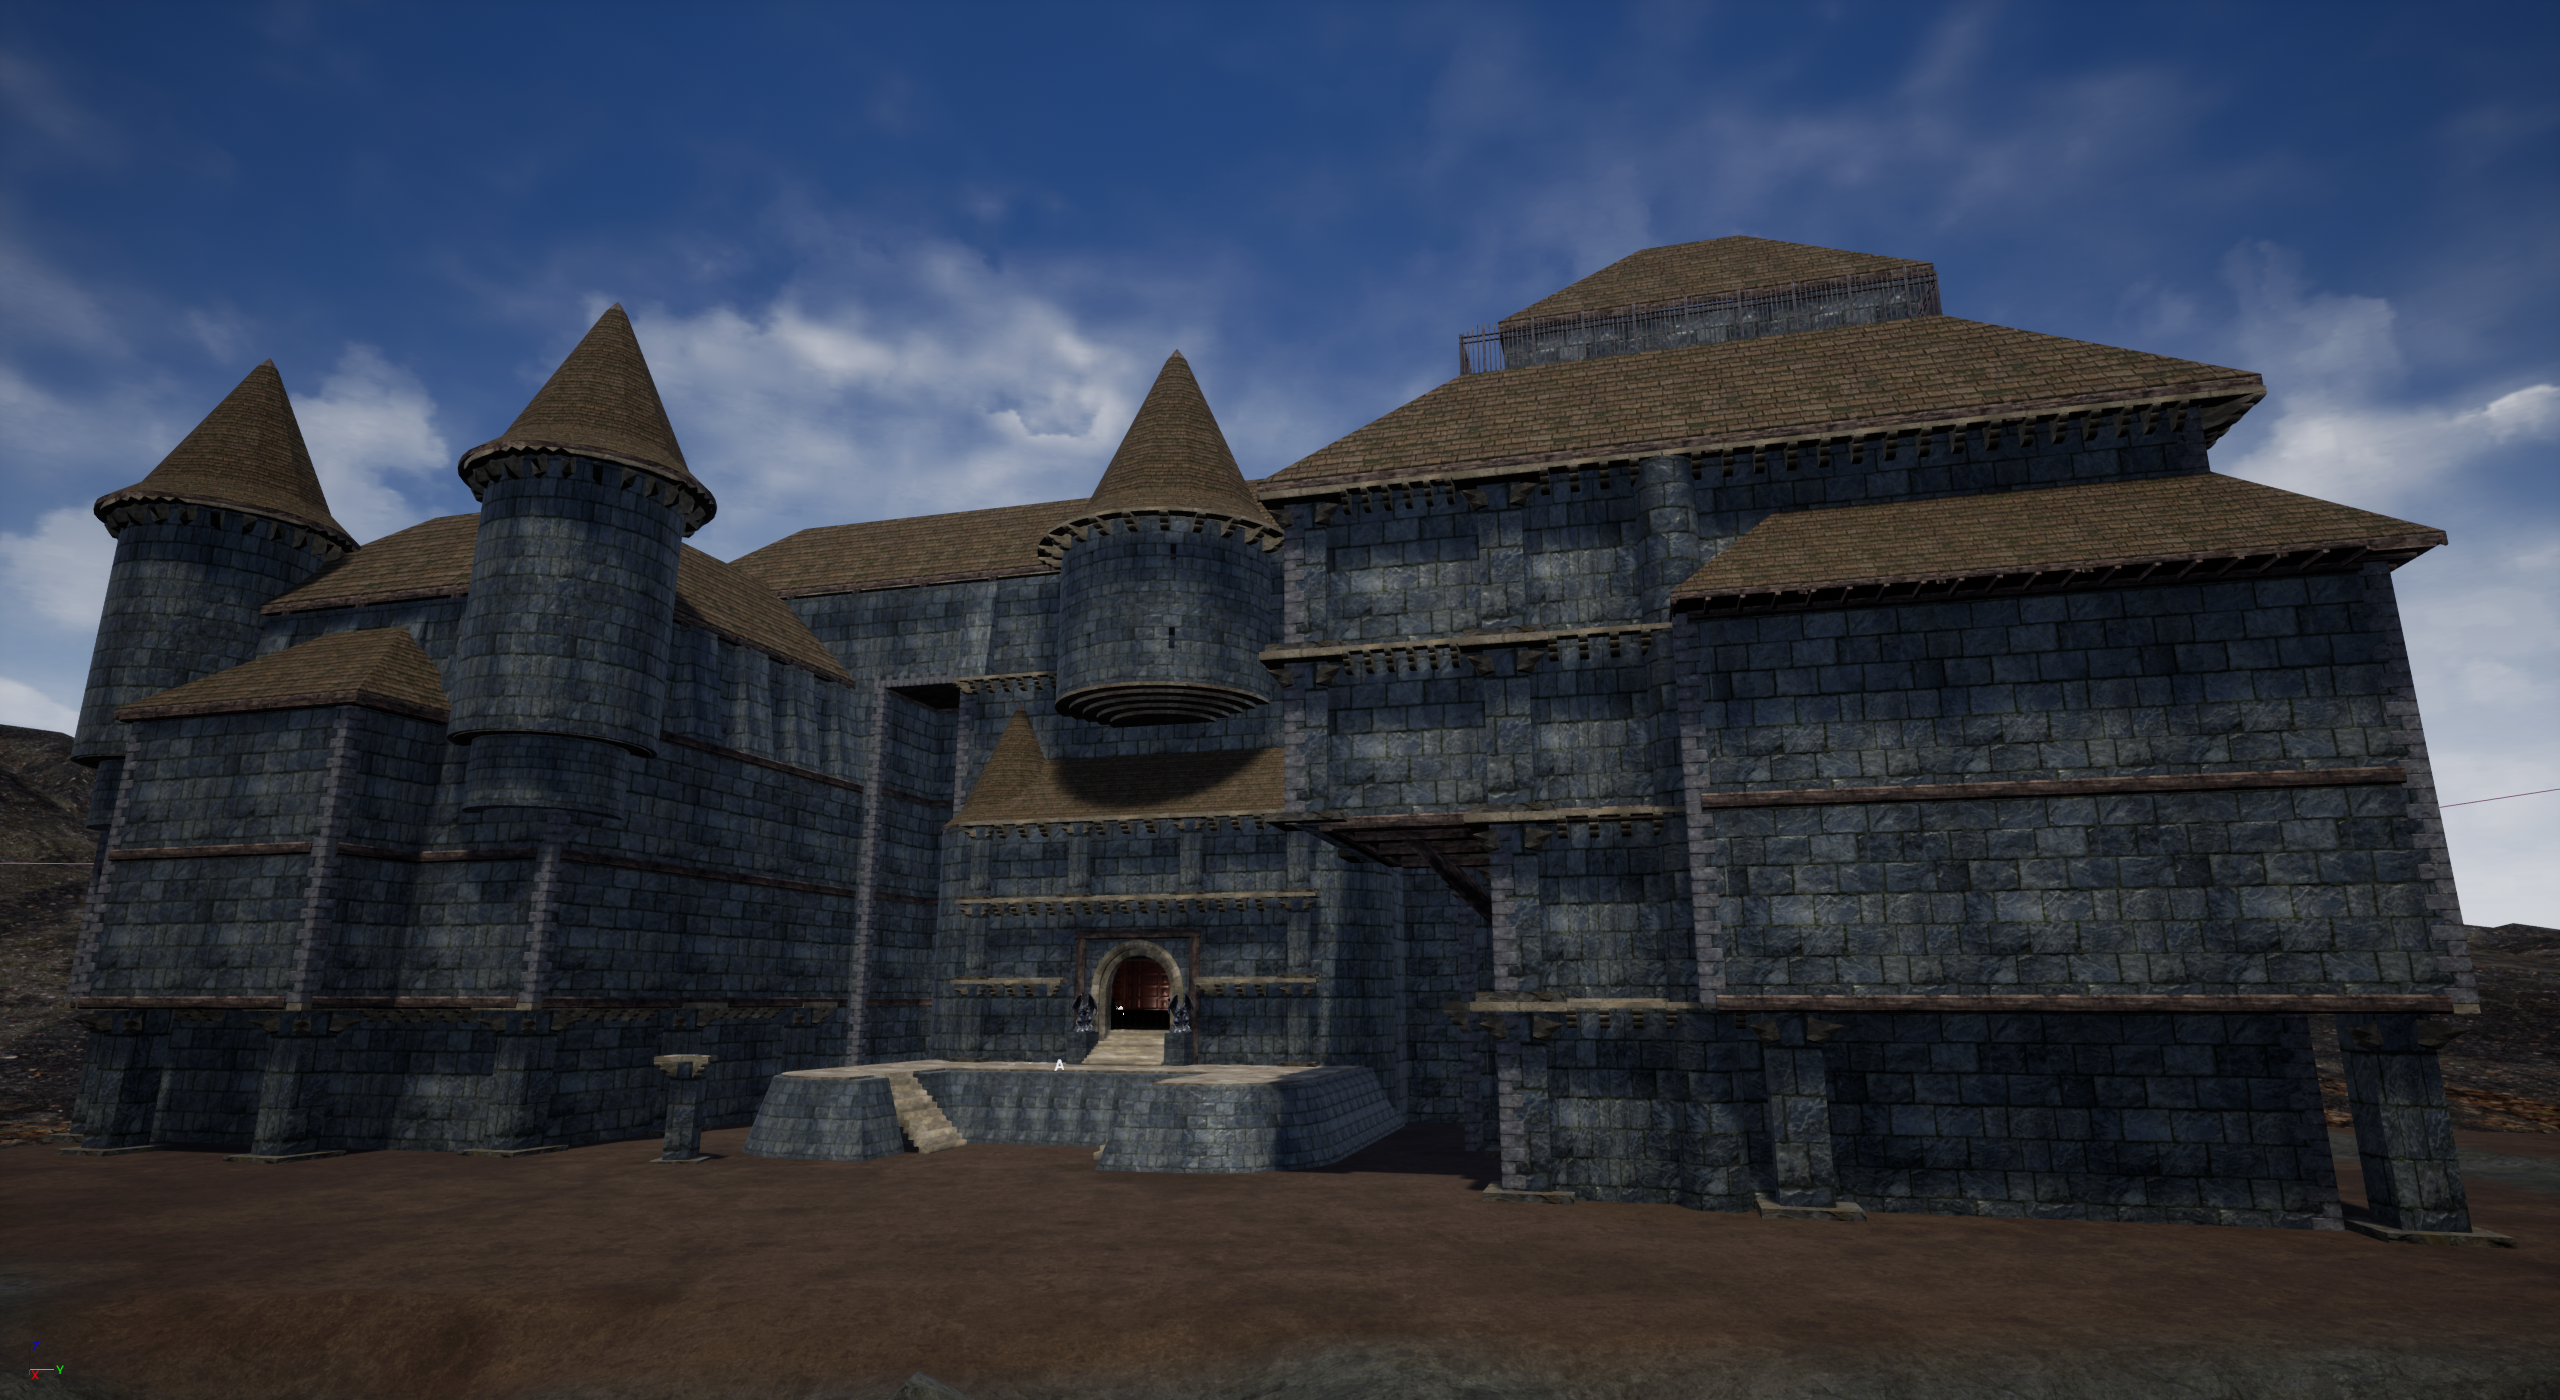
Once the village was done, I had to work out my structure of the indoor area of my mansion on the hill. I followed my sketches I had done in my planning and began to work my way from the entrance as a starting point and placed out floor, walls and ceilings to create the the rooms and corridors of the indoor area. With the indoor area done, I could now see the overall structure of the mansion and continued to add the outdoor layer around it. Later on in the process I could decorate the indoor areas and find props that would match the overview that I had thought through.
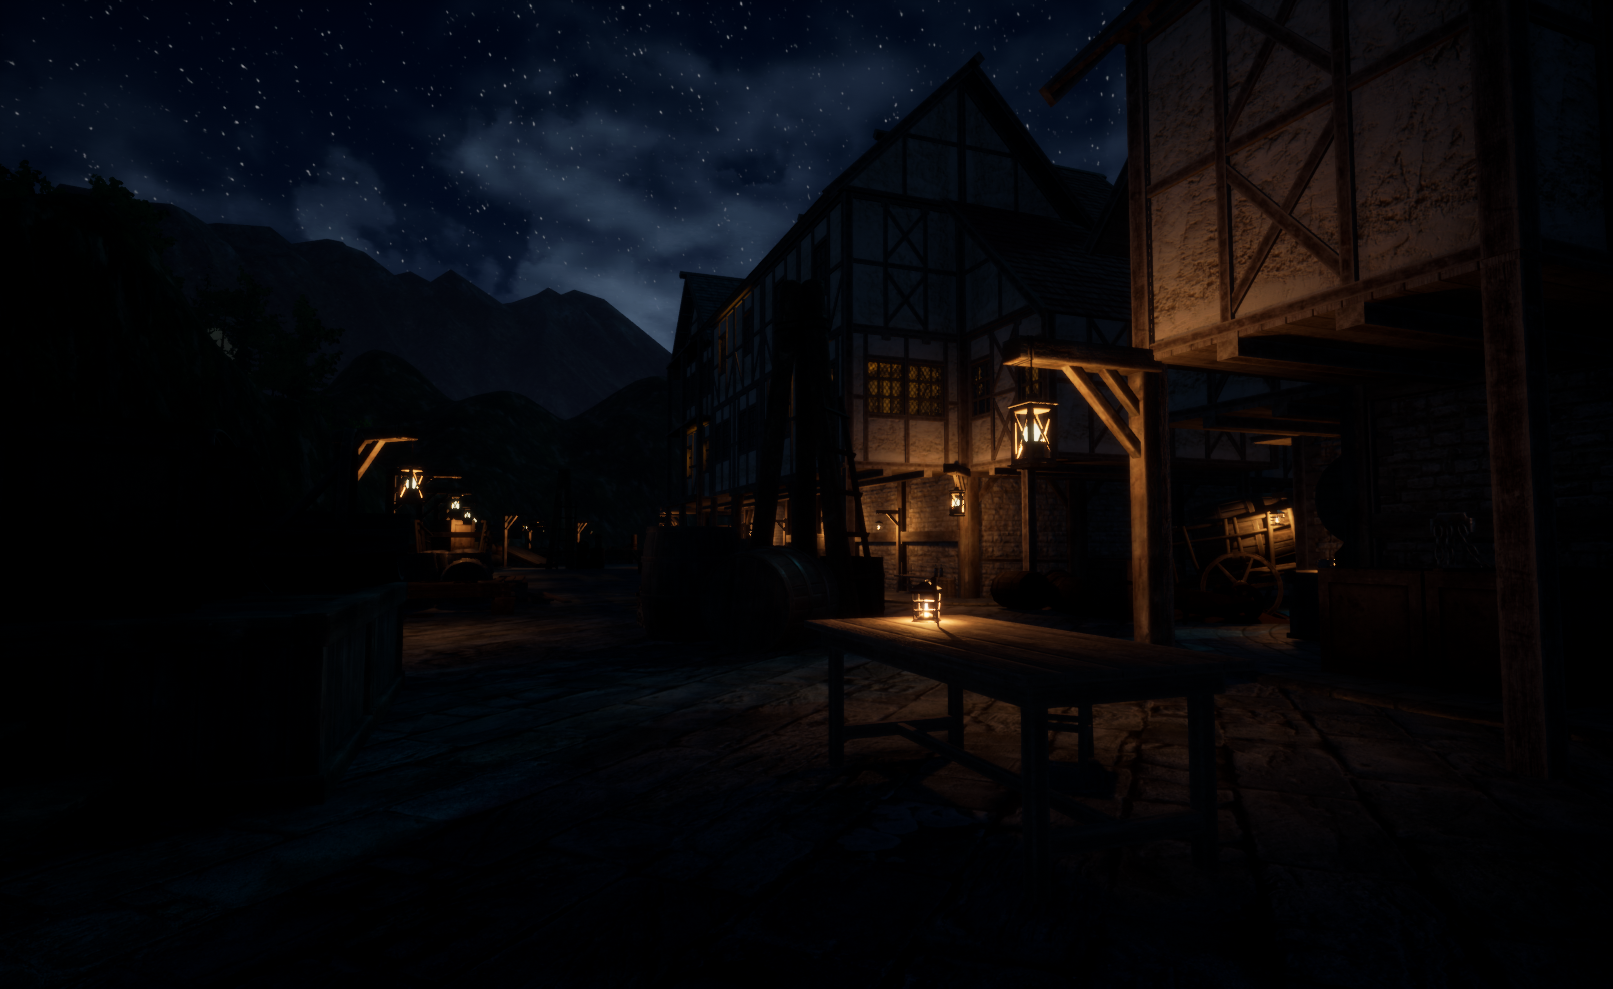
When all the placement of meshes was done, I began to work out on my landscape. I added some background terrain to get a feeling of depth in the surrounding area. Then I sculptured the area which I had placed my blockout around to get the correct height of the environment I had planned.
Some of the new tools in Unreal Engine that I tried out in this project was the water system to create lakes, seas and oceans. I knew from the start of the project that I wanted either a large lake or sea to be adjacent to my village. This tool makes it very easy for me to structure a flowing lake running next to my village by adding spline points on how the river should flow.
Spline Meshes was another thing I used a lot to create my scene. Sidewalks, the harbour edge, the walls around the village and some fences were all generated by the Spline mesh tool. This made it very easy to get the correct structure I wanted and easy to change in case something needed to be changed.
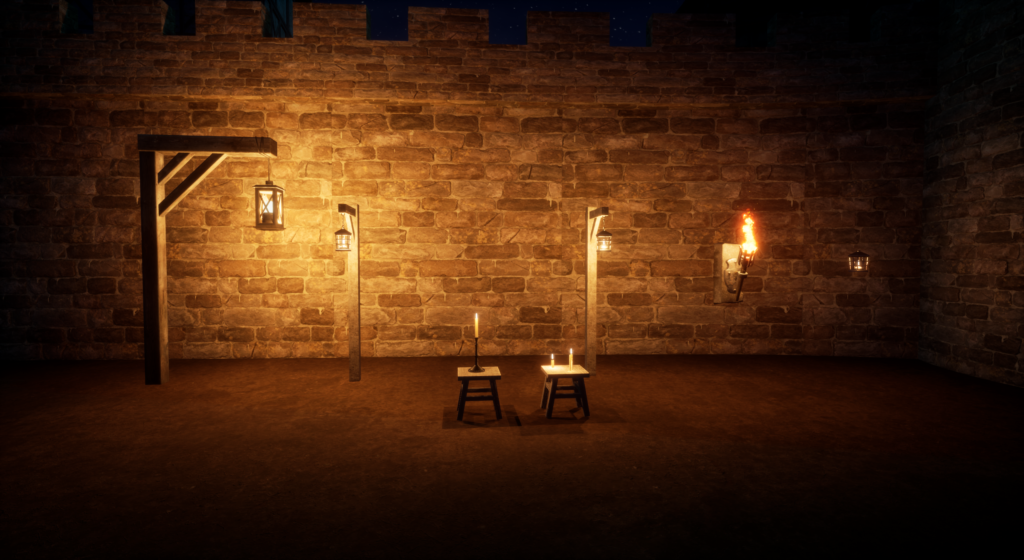
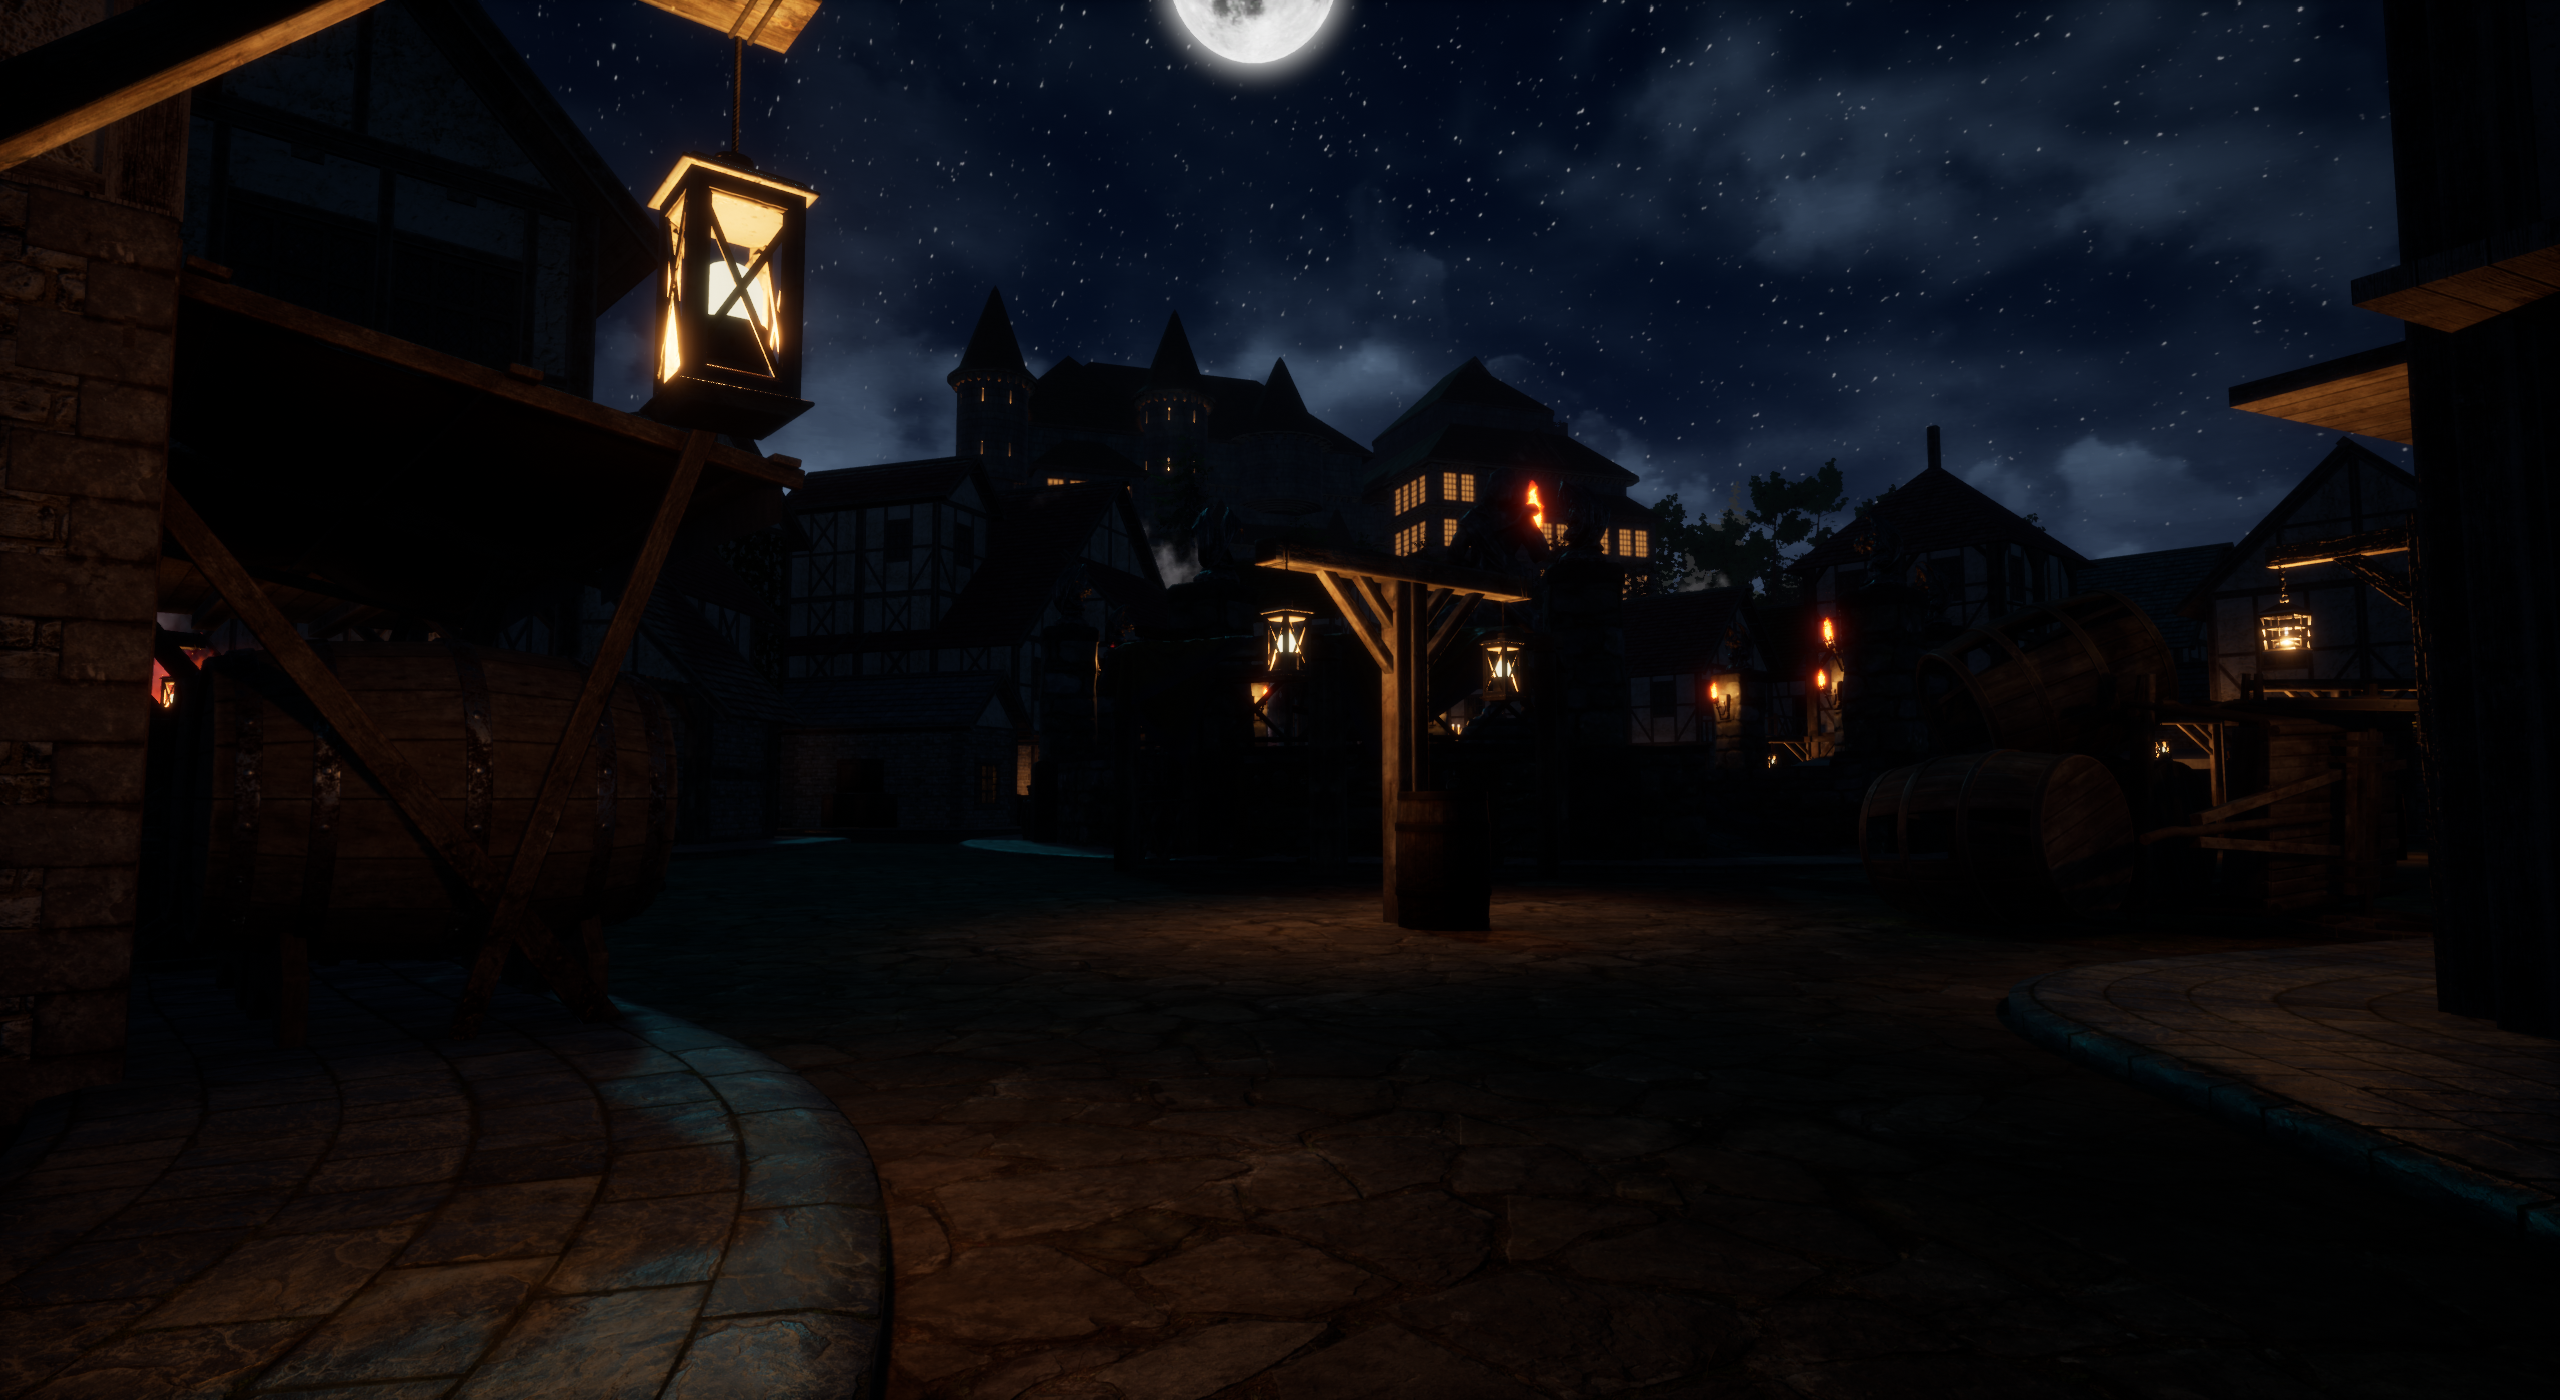
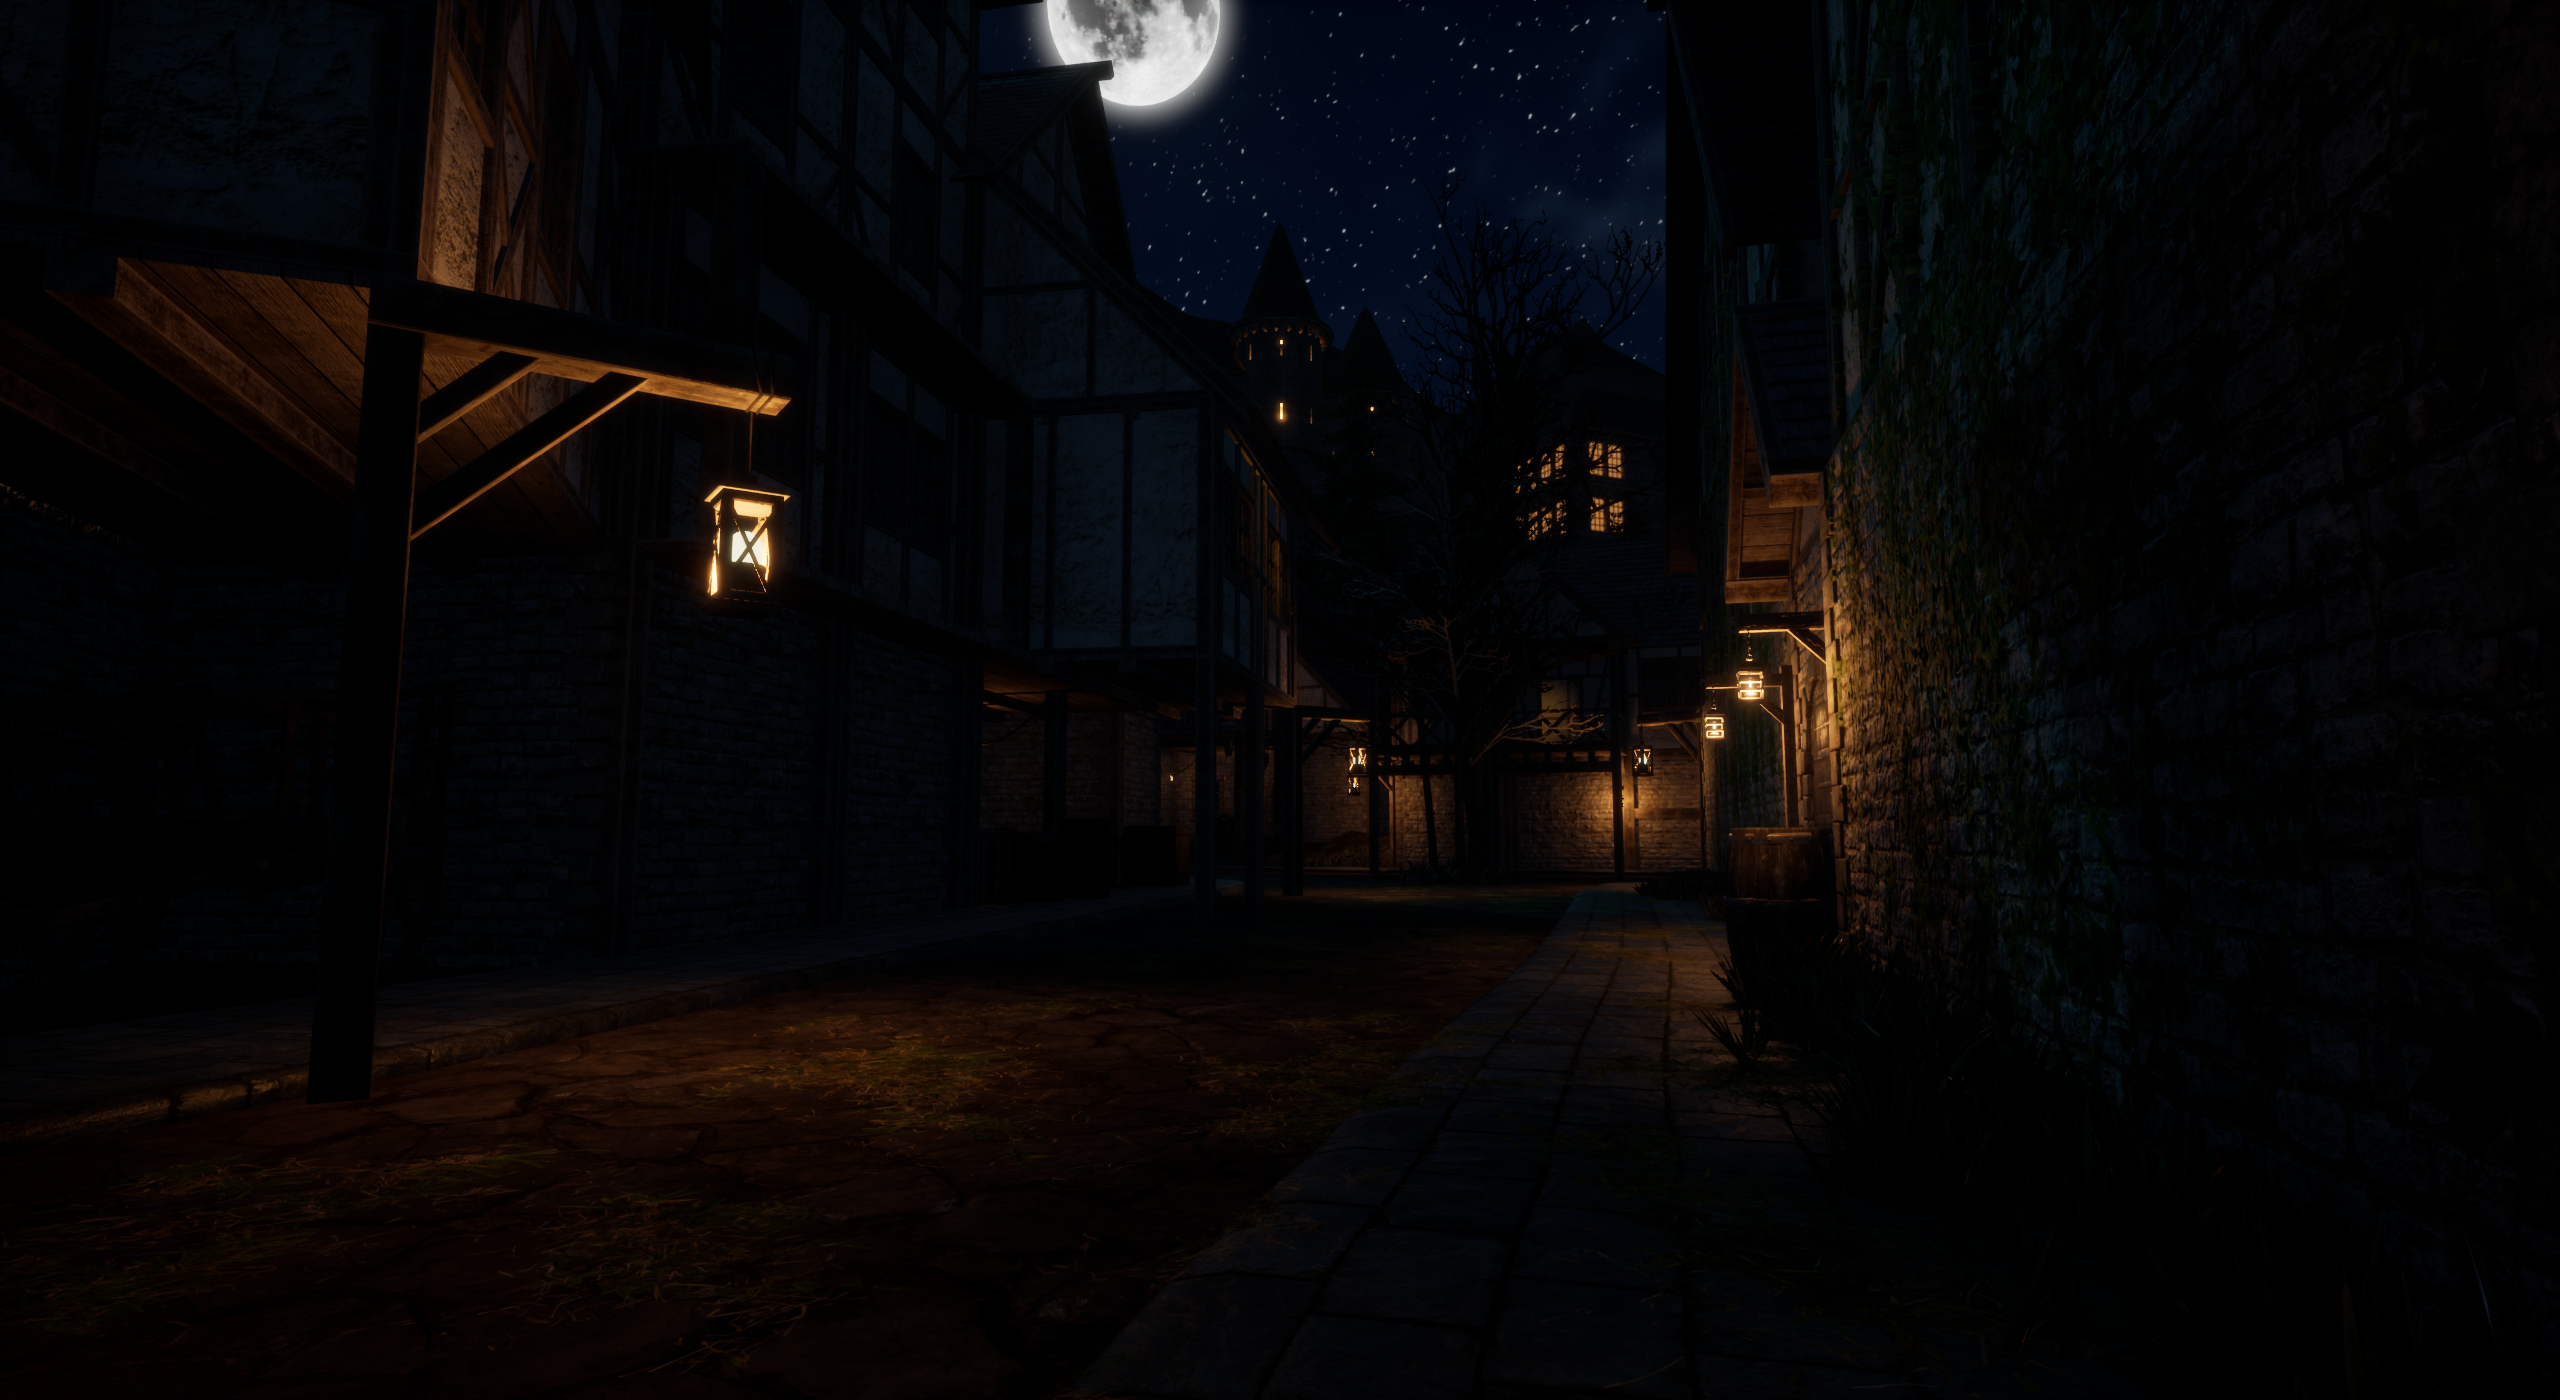
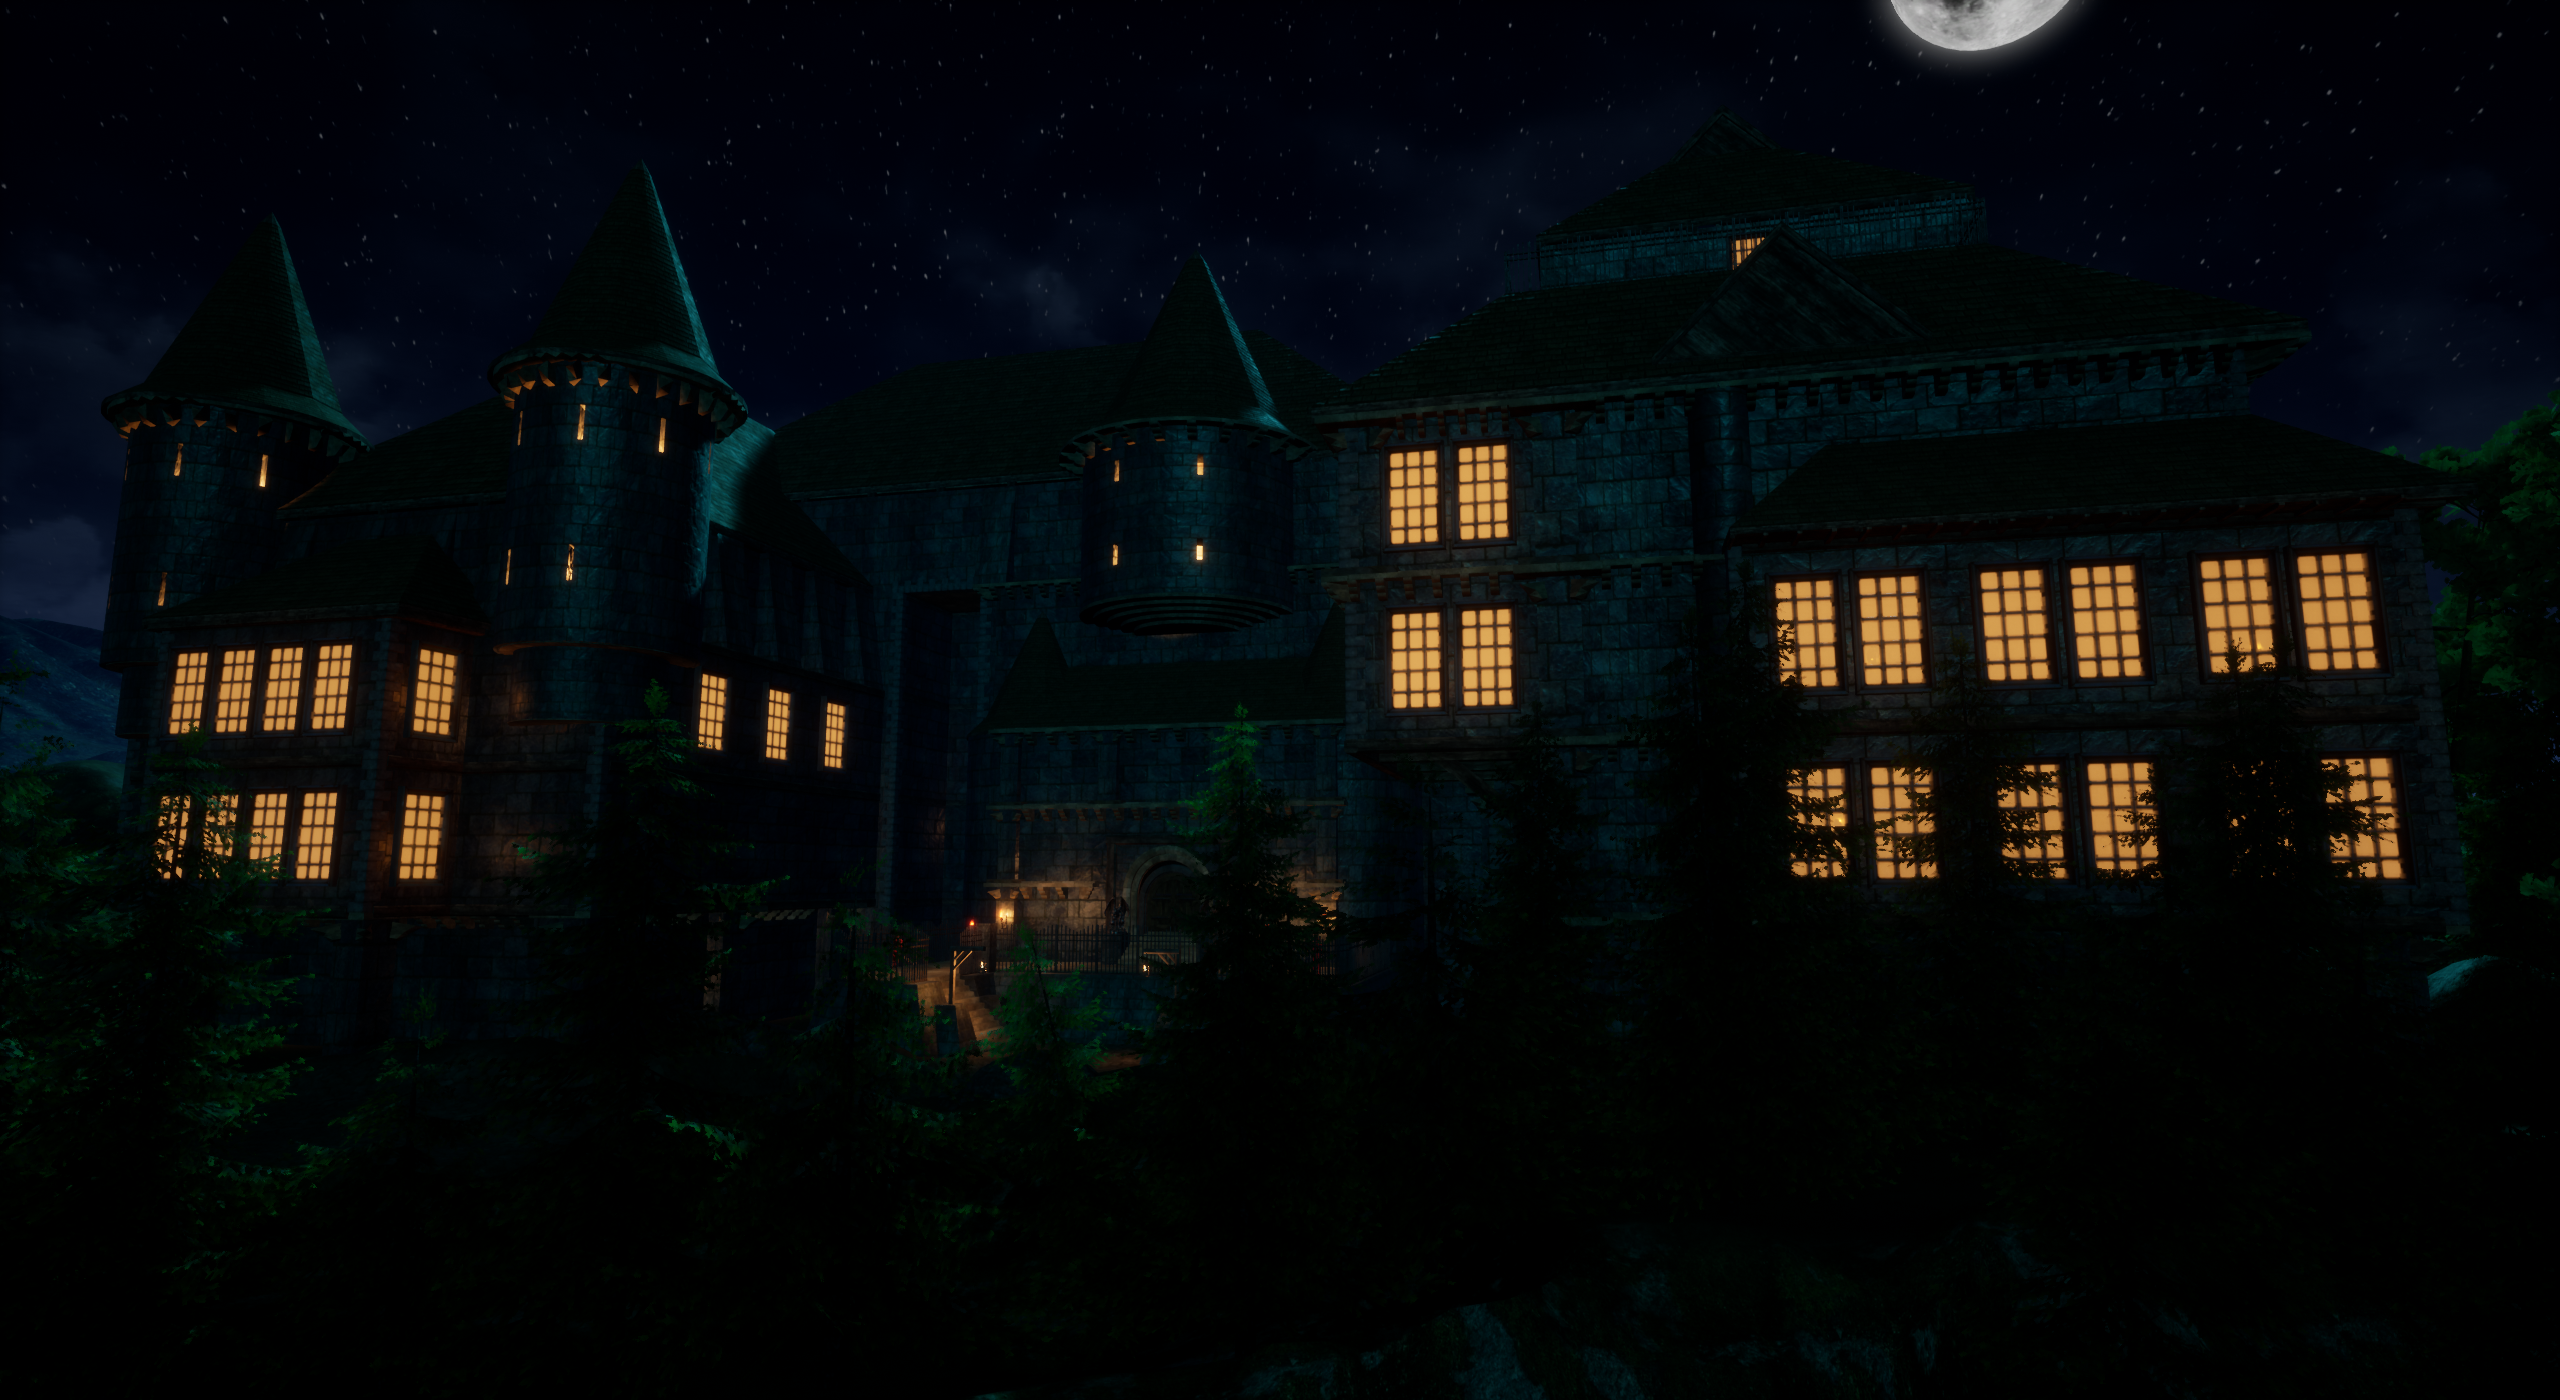
Lighting the environment
After I was done with all of the structure of the scene. I began with the lighting in the scene. I knew I wanted an evening scene to practice on lighting but also level design by adding lighting to make the pathing of the level more interesting. I added early a moon to have as a lightsource for the directional light in the environment, this also made it possible to add spotlights in some areas where I needed a stronger blue environment light. As I knew I needed some sort of light source for my environment light, I started to make blueprints which contained a mesh to represent the object from where the light comes from, a particle effect to get a flickering effect from the lightsource and also a point light where the light strength could be controlled.
After some work I got a variation of different lights that would fit my environment both outdoors and indoors.
When the lighting was done, I began to go through the level from start to finish and work on areas to place out props and decals to make it feel more alive.